
Here it is, the finished slipcovered wing chair! tah-DAH!
(click here for the background on how I tackled this chair)
(click here for the background on how I tackled this chair)
 |
| pillow by Storehouse, puchased for $5.00 @ TJMaxx |
 |
The chair has a "T" shaped box seat cushion. I was a little intimidated at first.
But.
Knowledge is power!
Sew, Mama, Sew! and Miss Mustard Seed both had valuable instructions
on making a box seat cushion cover. SMS! has instructions for a zipper and
MMS used an envelope closure. Since I wanted to be able to have a backup
side to turn to just incase my3sons find a way to ruint the other, I opted for the zipper.
I would suggest you read/view both. Sometimes it takes a couple of times or
a different way of seeing something for my lightbulb to come on
  Watch out! Baby what's that? Don't look now there's a zipper on your back! (name that song...I did change the lyrics a bit) |
The skirt goes to the floor and is the same length all the way around the chair.
This required measuring and marking where to pin the skirt on the body of the slipcover
so that the length is the same all the way around.
I also wanted a more "tailored" look so I chose to use inverted pleats at each corner of the chair.
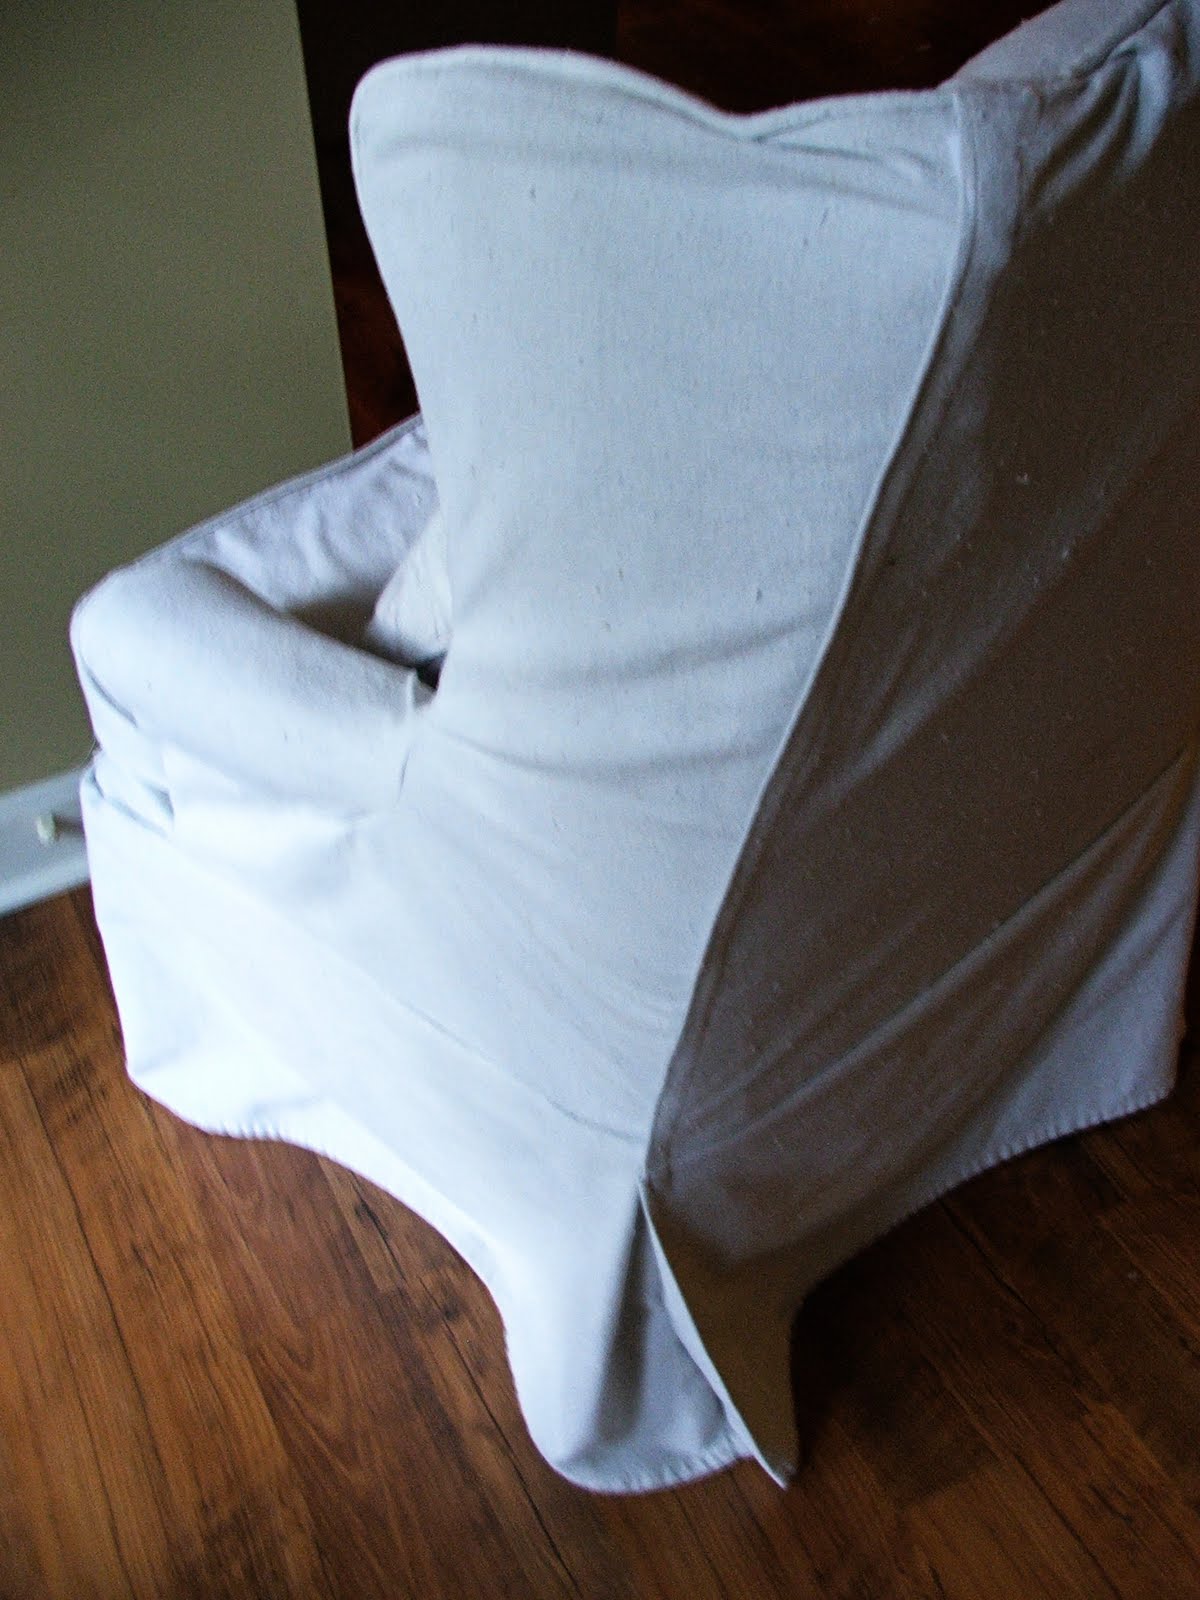 |
The slip cover is easily removed for washing, did I mention my3sons? The secret to getting the slipcover on and off easily is hidden along each edge of the chair back. I used white sew on velcro from the top back corner on each side running down to 1" below where the skirt starts.

Here you can see the velcro closure as well as how I handled
the inverted pleat. On both back corners the inverted pleat is essentially
half a pleat on each side of the opening. On the left side, the fabric doubles
back and then extends around the corner. On the right side,
the pleat folds back to the right. The velcro was sewn 1" down onto the skirt
(and the back) to hold the pleat in place and closed to conceal the chair leg.

This back view shows the right side velcro closure and pleat.
Miscellaneous FYI's :
- My chair took 1 1/2 dropcloths. (So for my 2 chairs I'll have used 3 total. Not much waste here at all!) I used the 8 oz. "Finish Factor" from Lowe's, per MMS, and I forget the size but it cost $13.and change. Be careful you don't buy the really long and narrow one on accident. They won't be good for much. Ask me how I know.
- They aren't "white" even after bleaching. Mine soaked for several hours and it was long enough to even out the coloring of the dropcloth.
- If you bleach yours, neutralize the bleach by washing them again with hydrogen peroxide. I used a whole "normal" sized bottle on each load of dropcloth fabric. Then I washed with my regular laundry detergent. This may seem like a lot of water and washing but it got the job done and they don't have that funny smell anymore. You know. The "import" smell.
- Miss Mustard Seed is spot on with her tip to use the hems on the dropcloths for your hems. I was able to do this and had very little fabric waste.
- Be prepared to work a bit to get that tricky inside back/seat/corner area looking right. I had to go slow, pin, re-pin, and hope for the best on these areas. I wish there was a secret trick I knew for handling this area since I have one more chair to do. If you have one do tell!
- Don't be hasty in cutting. What's that saying? Haste makes waste. It is true. Don't trim your seams too close before or after sewing. Now I know why a serger would come in handy for slipcovering.
- The dropcloth has a wonderfully natural, cozy, even soft look and feel. As far as wear/use/comfort after having it on the chair a week or so...so far so good! Myself, my3sons, and husband all approve.
I think that's all I can add there.
I hope this is helpful and that you have fun
doing your first or next slipcover too!
Here is the before.

Bad fabric.
Bad. Bad. Bad.
Who would ever choose something like that?
ME.
In 1990 something!
what was I thinking

And the after!
|
Better. SO much better. I like it best like this though... |

I have one more to do.
The next chair was found on the curb just down the street from my parents' house. We nabbed it just after it had been set out on the curb for "big trash night".
It was in great condition but was missing its cushion.
So here I go!


I've linked up to these furniture feature parties

AND...
Rene of cottage & vine is hosting a giveaway
from her ETSY store valued @ $20.00!
click here to enter!

Your slip looks great! I am working on one too and have found Miss Mustard Seed's videos to be so helpful. Seeing the process works much better for me than reading the process.
ReplyDeleteThanks for posting about the giveaway! Good luck!
Great job!!!
ReplyDeleteLove how it turned out~ it's wonderful!! Would love for you to come share this at Feathered Nest Friday at my blog sometime! :)
ReplyDeletePERFECT!!!...so beautiful...good for you...
ReplyDeleteMariaelena...come on over and visit me too....